We recorded a video to show you the easiest way to implement your TikTok Pixel via Google Tag Manager.
We show you how to create a tag for the base pixel that would fire on all pages according to users' consent. And we show you how to create 1 tag or many tags to fire your different events.
Today we want to show you how to implement the TikTok pixel because we just did it for a customer and thought it could be helpful to show you in a video.
We recommend doing it via Google Tag Manager.
The first thing we did was actually not correct. And we want you to avoid the same mistake.
So what shouldn't we do?
There is a template available - created by TikTok - in Google Tag Manager to implement the TikTok pixel.
We therefore naively thought that it is all we need.
But - even if this template is helpful, you'll see later - you shouldn't start with it.
This template can be used to add your events.
However before adding your events, you need to create a tag for the TikTok base pixel - the pixel that will be fired on all your website pages - which is not covered by this template.
In order to create this TikTok base pixel, you need to to go to your TikTok account, create a pixel there, go in the settings of your pixel and copy the base code.
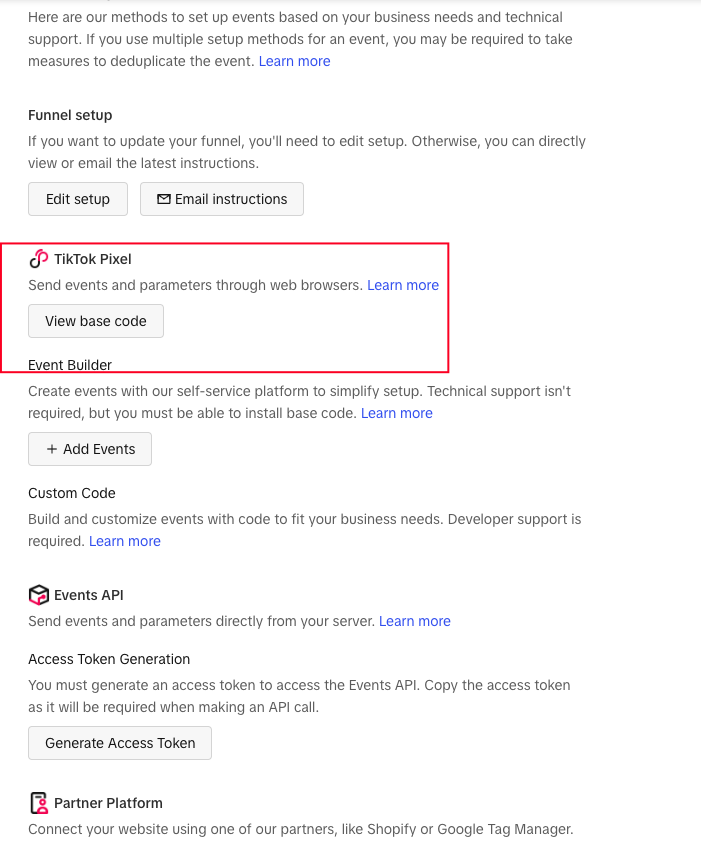
Copy this and paste it into a "Custom HTML" tag in Google Tag Manager.
To finalise the tag, you need to choose a trigger.
Use the correct one according to the users' consent.
This is a marketing pixel so users need to accept your marketing cookies.
Now that we have the base pixel, we can go back to our TikTok template and use it for the events we want to track and send back to TikTok.
This template contains already many standard events such as "InitiateCheckout", "AddPaymentInfo", "Purchase", etc.
Very handy for ecommerce.
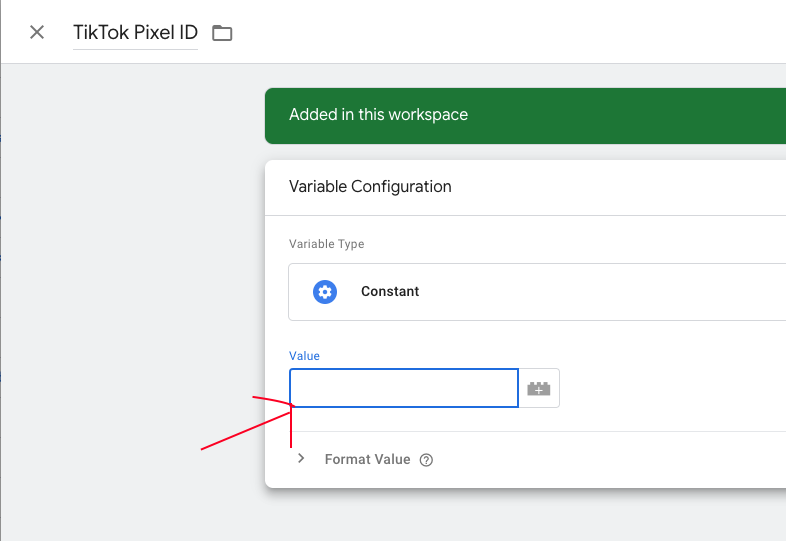
You can either create one tag for each event.
If you do, we recommend that you create a constant variable where you paste your TikTok pixel ID, in order to avoid errors.
Or you can create 1 tag that collect all the events.
To do so, create a variable (in our case {{Event}}) that takes dynamically the event name and use it as event name.
For triggers you add all the custom events that you want to track.
So if you're an ecommerce website, you could add all checkout events.
Here you go!
You are now ready to start your TikTok campaigns and get wonderful results!

